What you’ll get in your digital class kit:
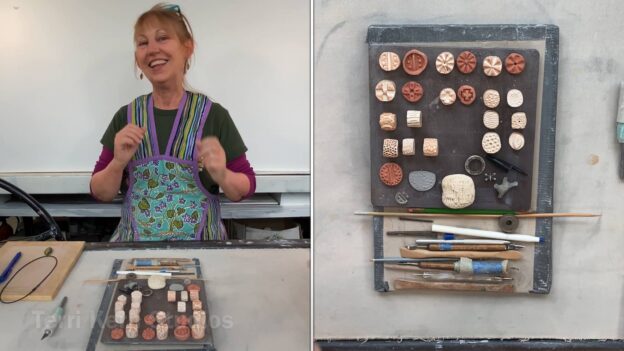
- Preferred handbuilding tools
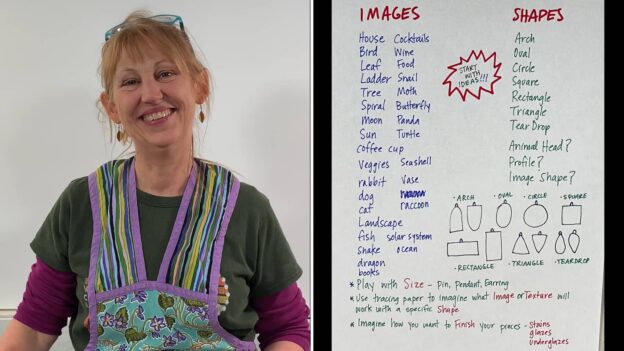
- Design Pages 1 & 2
- Jewelry Work Sheet for Pendants, Earrings and Pins
Video and Live Demonstrations Include:
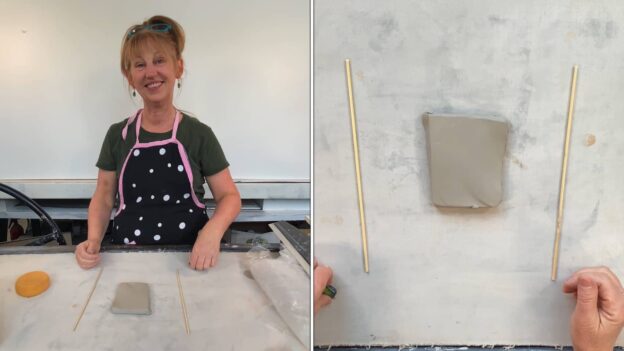
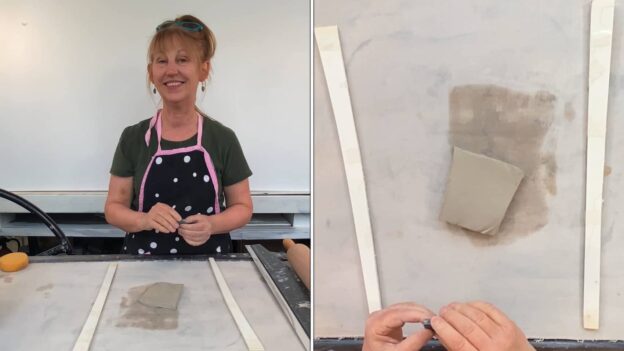
- Making a texture free slab using a slab roller and/or rolling pin and sticks
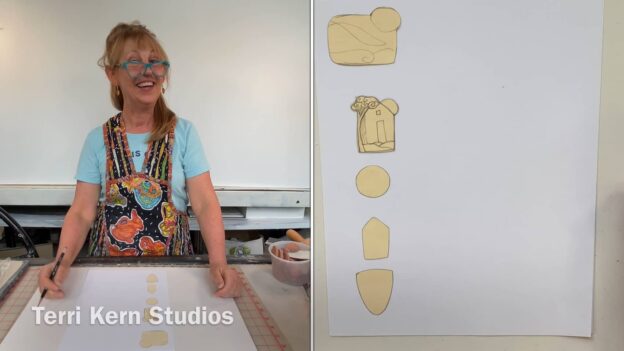
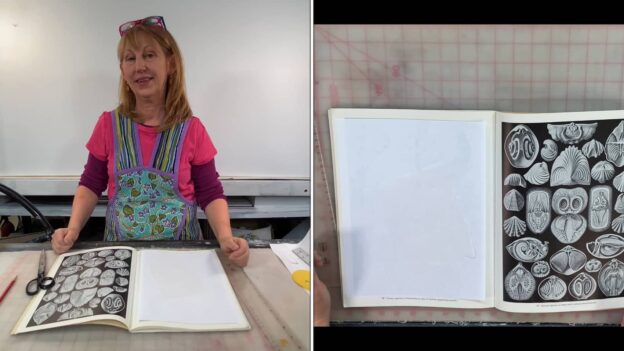
- Transferring basic shapes to manilla folder
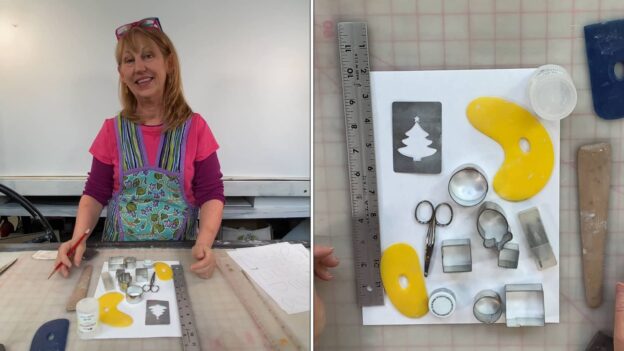
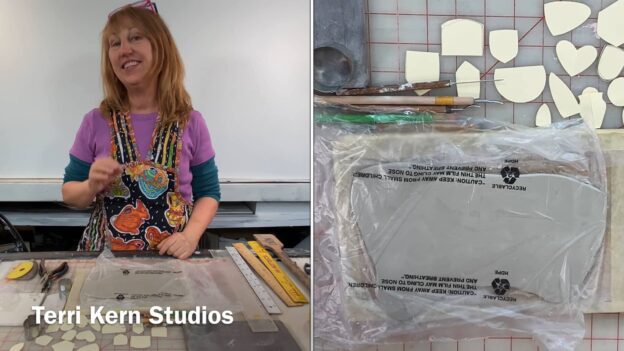
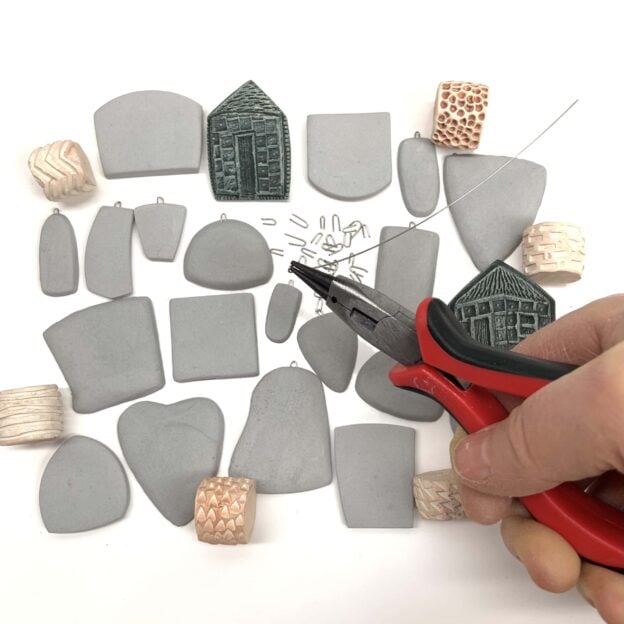
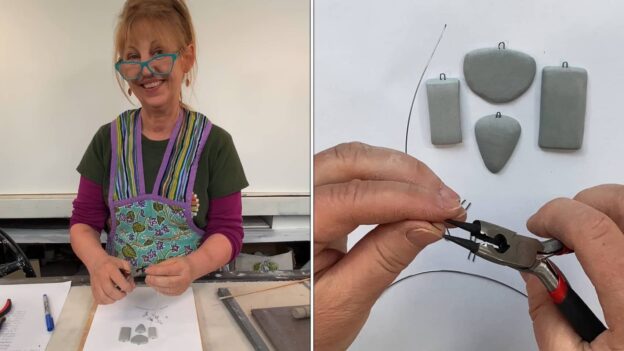
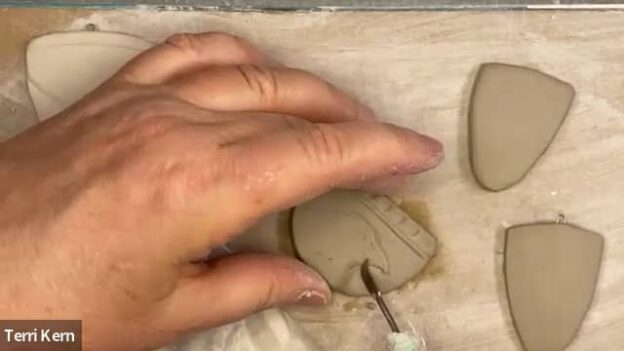
- Creating basic jewelry shape templates from manilla folder
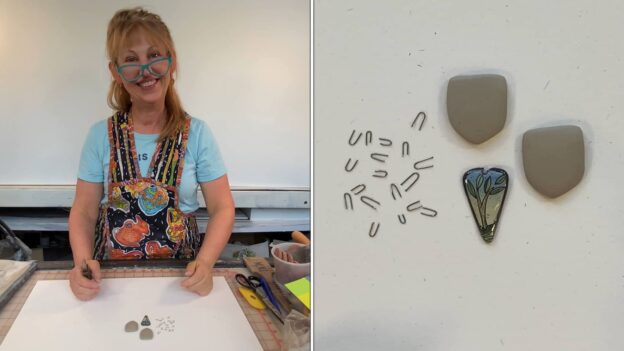
- Cutting and altering shapes using flexible metal rib
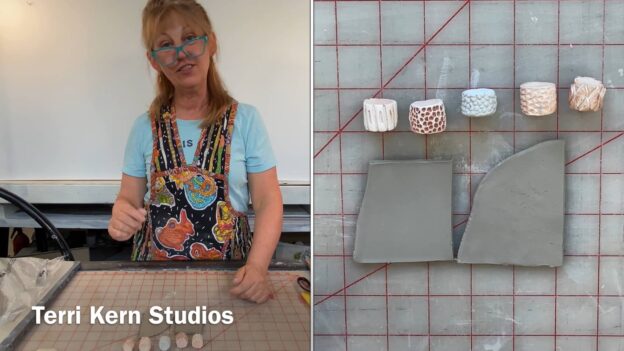
- Creating texture wheel from favorite textures
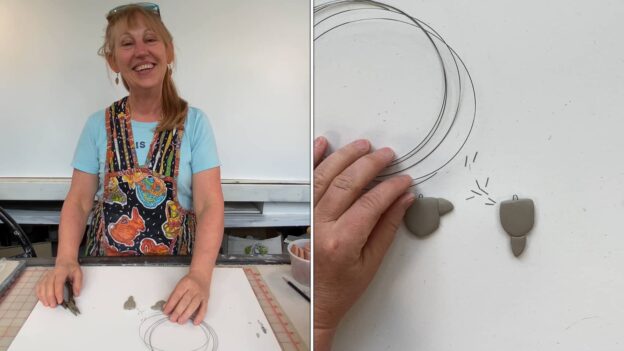
- Bend and cut nichrome wire to create the jewelry hooks
- Jewelry hook insertion
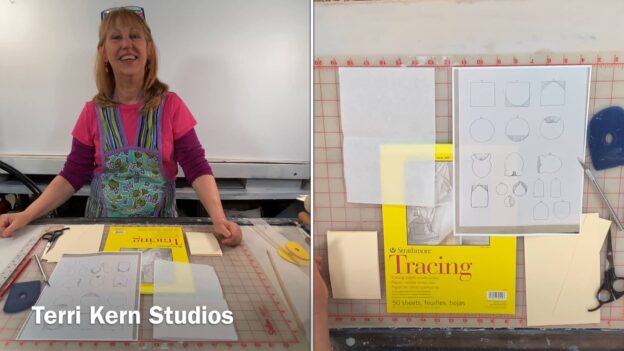
- Creating designs for jewelry shape using tracing paper
- Using texture wheels on a small scale
- Attaching a jump ring
- Attaching a pin back
- Jewelry hacks
What participants need to have for class:
- Rolling pin/Slabroller (For making several small slabs prior to class)
- Needle tool
- Flexible metal rib
- Ruler
- Saran Wrap
- Water
- Assorted wooden/plastic ribs
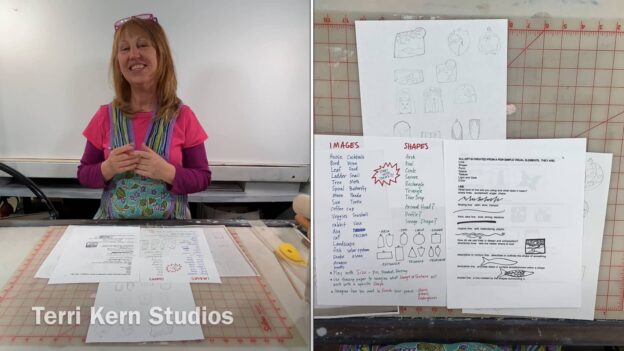
- Pencil & Paper for notes or drawings for reference
- Scissors or Xacto knife to cut out jewelry shape templates
- Spray bottle
- Sponge
- Texture tools or stamps (if you want texture on your pieces)
- Favorite handbuilding tools
- Design ideas
- Ware board to put your jewelry pieces on
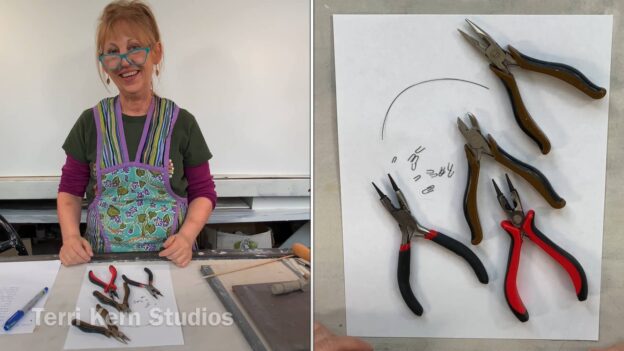
- Basic jewelry pliers (They should be able to both bend and cut wire)
- Nichrome wire (If you’re making pendants or earrings)
- 2 Wooden sticks for thickness control when rolling out small slabs
- Manilla folder
- Tracing paper
- Jump rings (If you’re making pendants)
- Pin backs (If you want to make pins)
- 5 minute epoxy, PC 7 or preferred glue for attaching pin backs
- Clay – What To Consider Regarding Clay Choice
- Think about how you want to finish your jewelry. This will help you choose the clay you want to use to create your pieces.
- If you want to paint your jewelry with underglazes, you can use low fire or mid range clay. I recommend white or red earthenware, porcelain or lightly grogged clay.
- If you want to use oxides followed by a translucent glaze, you should use the clay body that works best with your glazes.
Working with clay is easier with shortly trimmed fingernails.
Class Cost: $75
Refund Policy: Once you place your order you have instant access to the video content. Therefore there are no refunds available.